目录:
主页面的js业务逻辑层
主页面视图层
主页面css属性设置
跳转页面一的js业务逻辑层
跳转页面一的视图层
跳转页面二的视图层
跳转页面三的js业务逻辑层
跳转页面三的视图层
跳转页面三的css属性设置
效果图
视频
幻灯片控件:\<image-animator>\</image-animator>
跑马灯控件:\<marquee>\</marquee>
弹出提示框:prompt.showToast()
弹出对话框:prompt.showDialog()
** 在制作提示框的时候,首先制作一个菜单栏选项,弹出菜单栏仅有当调试点击后才触发显示出来 不占用原有视图空间.弹出菜单栏的位置默认以(0,0)为基准点,为了更好的用户体验,也可以自行设置弹出位置(如下图)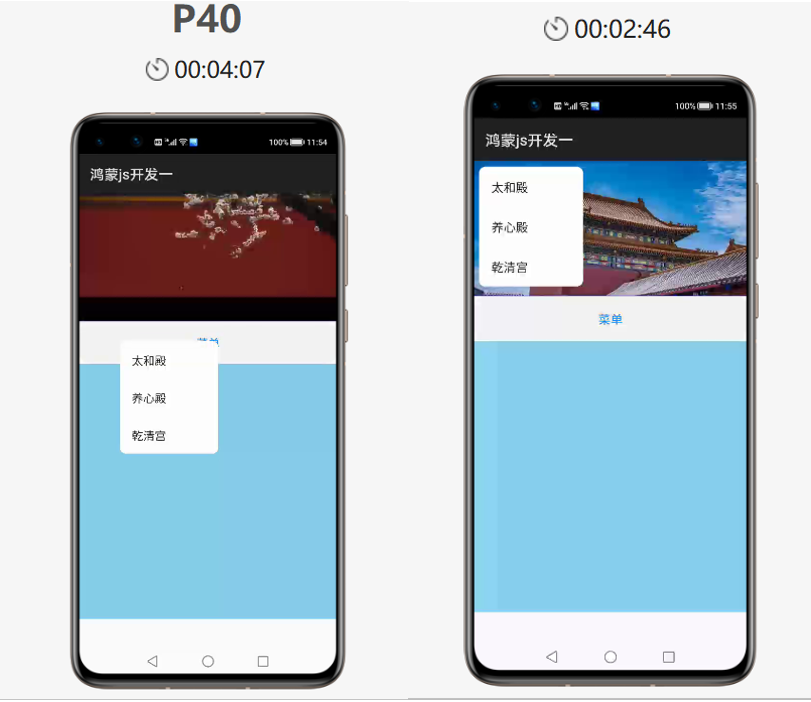 **
**
介绍一种跳转页面新方法:路由跳转页面(具体见代码): import router from '@system.router'; //通过路由跳转页面
** router.push({ uri: 'pages/jumpone/jumpone'}) //路由的方法**
主页面的js业务逻辑层:
import prompt from '@system.prompt';
import router from '@system.router';  //路由  通过路由跳转页面
export default {
    data: {
        title: 'World',
        imgdatas:[{
                      "src":"http://ttjib3.natappfree.cc/images/12.jpeg"
                  },
                  {
                      "src":"http://ttjib3.natappfree.cc/images/13.jpg"
                  },
                  {
                     "src":"http://ttjib3.natappfree.cc/images/14.jpg"
                  },
                   {
                      "src":"http://ttjib3.natappfree.cc/images/15.jpg"
                  },
                  {
                   "src":"http://ttjib3.natappfree.cc/images/16.png"
               }]
    },
        showmenu() {
            //弹出显示菜单    首先要获取这个组件用  this.$element

            //this.$element("menueone").show();

            //弹出的具体位置 默认时以(0,0)为基准点
             this.$element("menueone").show({
               x:0,
                 y:0
           });
        },
        changemenu(e) {
            let name = e.value //这里的value就是hml中的value
            //鸿蒙的提示框
            prompt.showToast({
                message:name
            });
            if (name == "太和殿")
            {
                router.push({                   //路由的方法
                    uri: 'pages/jumpone/jumpone'
                });
            }
            else if(name == "养心殿")
            {
                router.push({                    //路由的方法
                    uri: 'pages/jumptwo/jumptwo'
                });
            }
            else if(name == "乾清宫")
            {
                router.push({                     //路由的方法
                    uri: 'pages/jumpthree/jumpthree'
                });
            }
        }

}
主页面视图层:
<div class="container">
   <div class="topview">
       <!--幻灯片组件-->
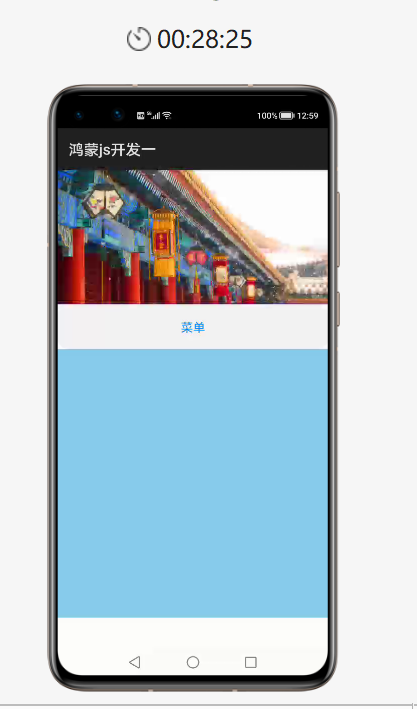
       <image-animator class="image-animator" duration="5s" fixedsize="false" images="{{imgdatas}}">
       </image-animator>
   </div>
    <div class="contentview">
        <button onclick="showmenu">菜单</button>
    </div>
    <menu id="menueone" onselected="changemenu">
        <option value="太和殿">太和殿</option>
        <option value="养心殿">养心殿</option>
        <option value="乾清宫">乾清宫</option>
    </menu>
</div>
** 主页面css属性设置:**
.container {

    width:100%;
    height: 1200px;
    display: flex;
    flex-direction: column;
    background-color: skyblue;
}
.topview{
    width: 100%;
    height: 30%;
    border-bottom: 1px solid blue;
}
.image-animator{
    width: 100%;
    height: 100%;
}
.contentview{
    width: 100%;
    height: 10%;
    background-color: white;
}
跳转页面一的js业务逻辑层:
import prompt from '@system.prompt';

export default {
    data: {
        title: 'World'
    },
    changmes() {
        //1.弹出提示框
        // prompt.showToast()
        //2.弹出对话框
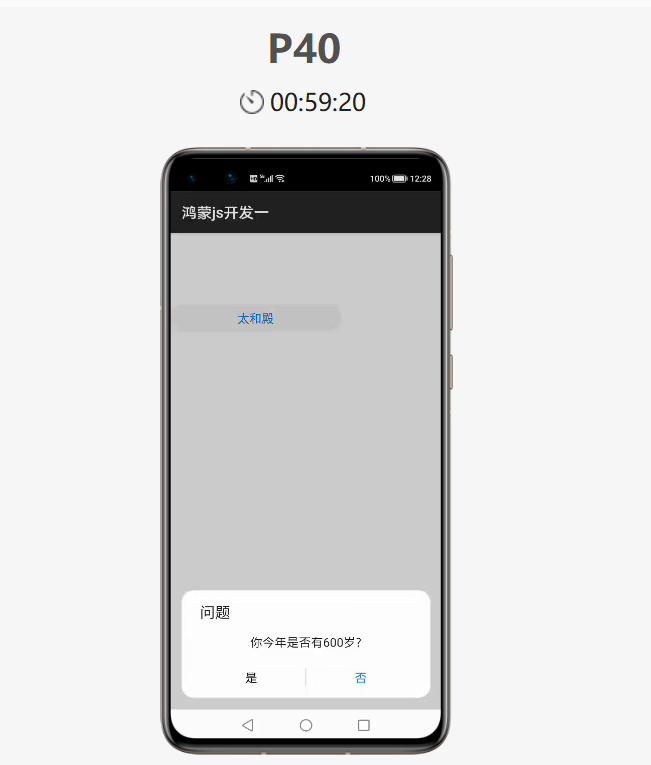
        prompt.showDialog({
            title:"问题",
            message:"你今年是否有600岁?",
            buttons:[{"text":"是","color":"#000000"},{"text":"否","color":"#000000"}],
            //用successs追踪对话框
            success:function(data){
                   if(data.index==0){
                       prompt.showToast({
                           message:"你点击了是按钮"
                       })
                   }
                   if(data.index==1){
                       prompt.showToast({
                           message:"你点击了否按钮"
                       })
                   }
            }
        })
    }
}
跳转页面一的视图层:
<div class="container">
       <button onclick="changmes">太和殿</button>
</div>
跳转页面二的视图层:
<div class="container">
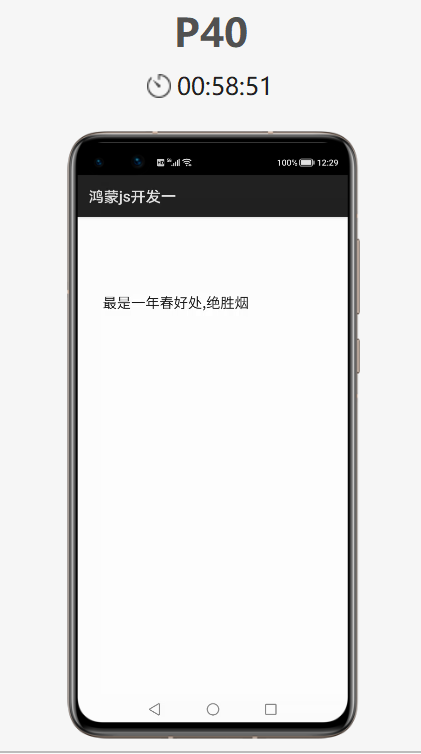
  <marquee>
      最是一年春好处,绝胜烟柳满皇都
  </marquee>
</div>
跳转页面三的js业务逻辑层:
import router from '@system.router';
export default {
    data: {
        title: 'World',
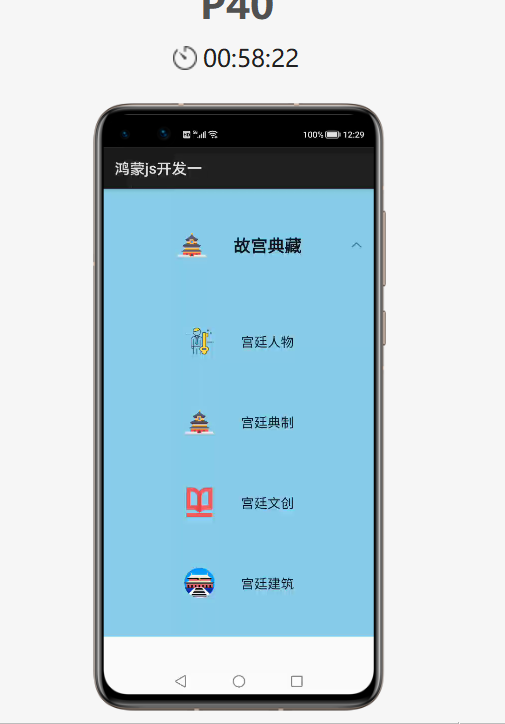
        listdatas:[{"cname":"故宫典藏","cimg":"/common/gugong.png","lname":[{"fname":"宫廷人物","icon":"/common/renwu.png"},{"fname":"宫廷典制","icon":"/common/gugong.png"},{"fname":"宫廷文创","icon":"/common/gongwenhua.png"},{"fname":"宫廷建筑","icon":"/common/gu.png"}]},
                   {"cname":"故宫文创","cimg":"/common/gugong.png","lname":[]},
                   {"cname":"故宫建筑","cimg":"/common/gugong.png","lname":[]},
                   {"cname":"故宫历史","cimg":"/common/gugong.png","lname":[]}
        ]
    },
    changemenu(e){
         router.push({
             uri:'pages/gugongwenchuang/gugongwenchuang'
         })
    }
}
跳转页面三的视图层:
<div class="container">
    <list class="listview">
        <block for="{{listdatas}}">
            <list-item-group class="group">      <!--高度不需要给出 会自适应大小-->
                <list-item class="listitem">
                    <image class="img1" src="{{$item.cimg}}"></image>
                    <text class="txt1">{{$item.cname}}</text>
                </list-item>
                <block for="{{(cindx,cvalue) in $item.lname}}">
                    <list-item class="listitem1" onclick="changemenu">
                        <image class="img1" src="{{cvalue.icon}}"></image>
                        <text class="txt2">{{cvalue.fname}}</text>
                    </list-item>
                </block>
            </list-item-group>
        </block>
    </list>
</div>
跳转页面三的css属性设置:
.container {
    width: 100%;
    height: 1200px;
    display: flex;
    flex-direction: column;
    background-color: skyblue;
}
.listview{
    width: 100%;
    height: 100%;
}
.group{
    width: 100%;
}
.listitem{
    width: 100%;
    height: 25%;
    display: flex;
    justify-content:center;
    align-items: center;
}
.img1{
    width: 80px;
    height: 80px;
}
.txt1{
    font-size: 45px;
    font-weight: bold;
    font-family: sans-serif;
    margin-left: 70px;
}
.txt2{
    font-size: 35px;

    font-family: sans-serif;
    margin-left: 70px;
}
.listitem1{
    width: 100%;
    height: 18%;
    display: flex;
    justify-content:center;
    align-items: center;
}
效果图如下,效果视频已上传专栏(HarmonyOS开发从0到1) https://harmonyos.51cto.com/column/35
作者:noutsider
想了解更多内容,请访问: 51CTO和华为官方战略合作共建的鸿蒙技术社区https://harmonyos.51cto.com


