欢迎关注我的公众号 [极智视界]
大家好,我是极智视界,本文介绍了全志 XR806 say hello world 实现。
咱们之前已经完成了 XR806 鸿蒙系统的固件编译和固件烧录,得到的终端输出类似这样:

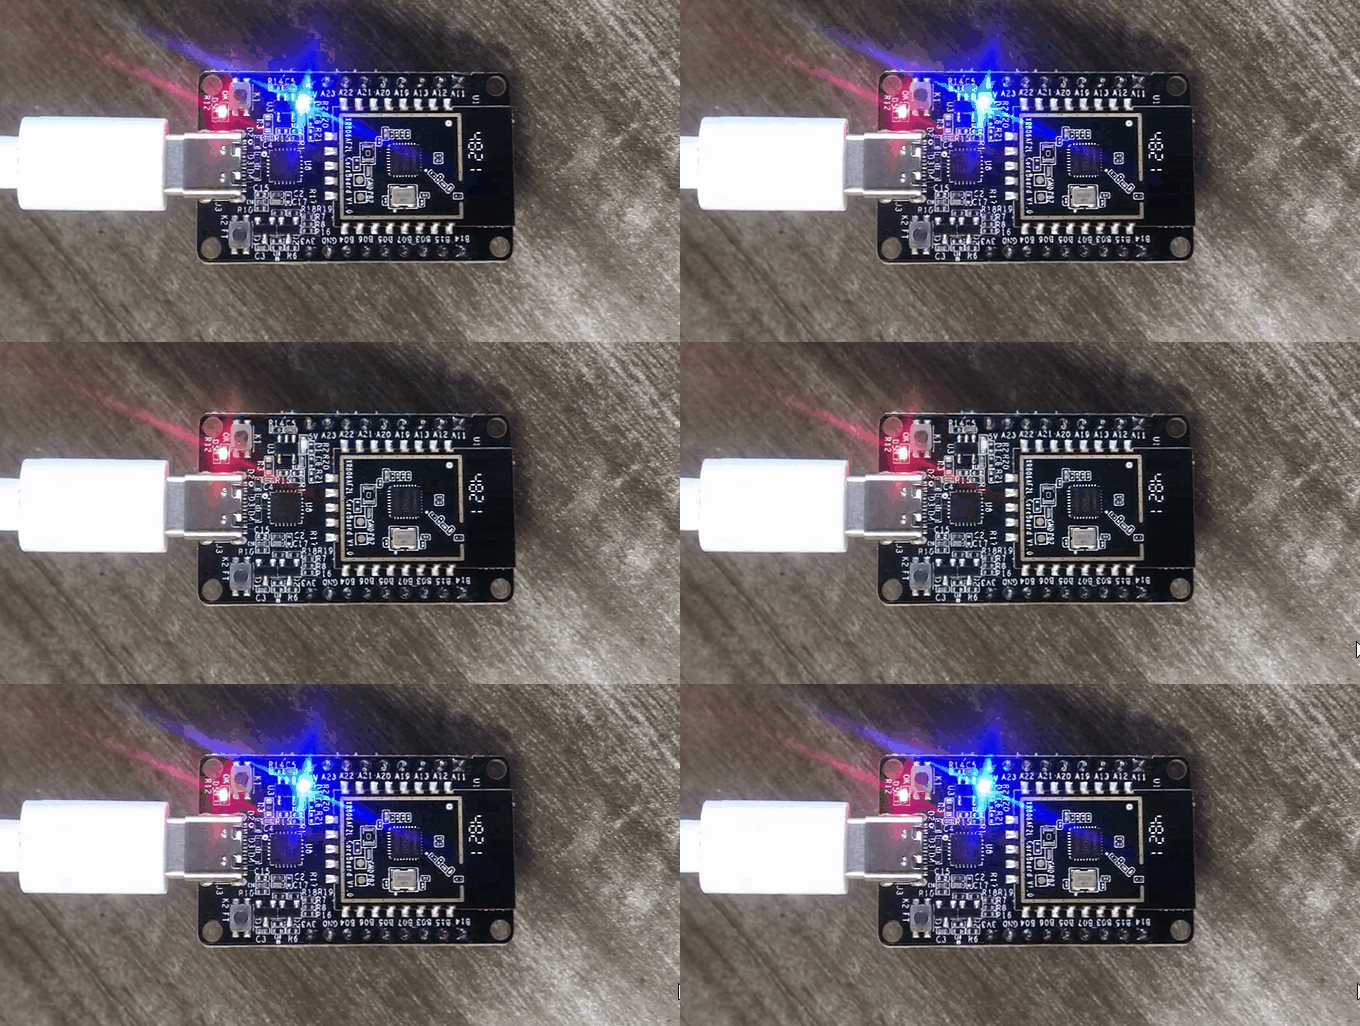
这里进入下一阶段,先让 XR806 板子来一下 blink、blink,以示准备就绪。
在串口调试命令终端输入如下指令:
hm iot pwm init p=2
hm iot pwm start p=2 d=50 f=5
看板子的灯 blink~blink~blink~
接下来开始实现 hello world。
需要重新走一遍固件编译与固件烧录,打开 <xr806_openharmony_path>/device/xradio/xr806/BUILD.gn,配置为启用 deps += "ohosdemo:ohosdemo",如下:
# device/xradio/xr806/BUILD.gn

import("//build/lite/config/subsystem/lite_subsystem.gni")
import("//build/lite/config/component/lite_component.gni")
import("//base/security/huks/build/config.gni")

build_ext_component("libSDK") {
  exec_path = rebase_path(".", root_build_dir)
  outdir = rebase_path("$root_out_dir")
  command = "./build.sh ${outdir}"
  deps = [
    "//build/lite/:ohos",
    "//kernel/liteos_m:kernel",
    "os:liteos_glue",
  ]
  if (IsBootloader == "false") {
    deps += [
      "adapter/hals:adapter",
      "adapter/console:app_console",
      "ohosdemo:ohosdemo"           # 启用 ohosdemo
    ]
  }
  if (disable_huks_binary == true) {
    deps += [
      "//base/security/huks/frameworks/huks_lite:huks_sdk",
    ]
  }
}

group("xr806") {
}
循着指示到 <xr806_openharmony_path>/device/xradio/xr806/ohosdemo/BUILD.gn,启用 deps = "hello_demo:app_hello",如下:
# device/xradio/xr806/ohosdemo/BUILD.gn

group("ohosdemo") {
    deps = [
        "hello_demo:app_hello",
        #"iot_peripheral:app_peripheral",
        #"wlan_demo:app_WlanTest",
    ]
} 到这里配置就可以了,为了更加深入一些,咱们继续看,<xr806_openharmony_path>/device/xradio/xr806/ohosdemo 目录结构如下:
-
|-- hello_demo
|  |-- src
|      |-- main.c
|  |-- BUILD.gn
|-- iot_peripheral
|  |-- ...
|-- wlan_demo
|  |-- ...
|-- BUILD.gn
来看一下 hello_demo 文件夹下的 BUILD.gn:
# device/xradio/xr806/ohosdemo/hello_demo/BUILD.gn

import("//device/xradio/xr806/liteos_m/config.gni")

static_library("app_hello") {              # 这里就很容易看懂 "hello_demo:app_hello"
   configs = []

   sources = [
      "src/main.c",
   ]

   cflags = board_cflags

   include_dirs = board_include_dirs
   include_dirs += [
      "//kernel/liteos_m/kernel/arch/include",
   ]
}
最后的实现在 src/main.c,代码很简单:
#include <stdio.h>
#include "ohos_init.h"
#include "kernel/os/os.h"
static OS_Thread_t g_main_thread;

static void MainThread(void *arg){      /// 每秒打印 hello world
    while (1) {
        printf("hello world!\n");
        LOS_Msleep(1000);}
}

void HelloTestMain(void){
    printf("Wifi Test Start\n");
    if (OS_ThreadCreate(&g_main_thread, "MainThread", MainThread, NULL,
                OS_THREAD_PRIO_APP, 4 * 1024) != OS_OK) {
        printf("[ERR] Create MainThread Failed\n");}
}
SYS_RUN(HelloTestMain);
以上就是 XR806 say hello world 的整个逻辑,下面要做的就是重新走一遍固件编译和烧录,然后终端展示:

[注]
解决终端输出偏移问题,类似:

对于 Xshell 和 MobaXterm 分别提供解决方法。
- Xshell:

work 了:

- MobaXterm:
(1) Setting->Configuration->Terminal->Terminal features 取消 "Paste using right-click":

(2) 右击终端选择 "Change Terminal Settings",然后勾选 "Implicit CR in every LF":


这样就 work 了:

以上分享了全志 XR806 板子 say hello 的过程,希望我的分享能对你的学习有一点帮助。
【公众号传送】
《【嵌入式AI】全志 XR806 say hello world》


