
Red Lite Env 的基础搭建
本章记录 Red Lite Env 项目的基础搭建过程,以及碰到的问题。
Linux 下如何使用对 GD32F310G START 进行在线调试以及程序下载
需要使用的关键工具是,开源的调试器 openocd, 涉及到有两个配置文件,分别是 target 的配置文件 gd32f3x.cfg:
# script for stm32f3x family

#
# stm32 devices support both JTAG and SWD transports.
#
source [find target/swj-dp.tcl]
source [find mem_helper.tcl]

if { [info exists CHIPNAME] } {
   set _CHIPNAME $CHIPNAME
} else {
   set _CHIPNAME stm32f3x
}

set _ENDIAN little

# Work-area is a space in RAM used for flash programming
# By default use 16kB
if { [info exists WORKAREASIZE] } {
   set _WORKAREASIZE $WORKAREASIZE
} else {
   set _WORKAREASIZE 0x4000
}

# JTAG speed should be <= F_CPU/6. F_CPU after reset is 8MHz, so use F_JTAG = 1MHz
#
# Since we may be running of an RC oscilator, we crank down the speed a
# bit more to be on the safe side. Perhaps superstition, but if are
# running off a crystal, we can run closer to the limit. Note
# that there can be a pretty wide band where things are more or less stable.
adapter speed 1000

adapter srst delay 100
if {[using_jtag]} {
 jtag_ntrst_delay 100
}

#jtag scan chain
if { [info exists CPUTAPID] } {
   set _CPUTAPID $CPUTAPID
} else {
   if { [using_jtag] } {
      # See STM Document RM0316
      # Section 29.6.3 - corresponds to Cortex-M4 r0p1
      set _CPUTAPID 0x4ba00477
   } {
      set _CPUTAPID 0x2ba01477
   }
}

swj_newdap $_CHIPNAME cpu -irlen 4 -ircapture 0x1 -irmask 0xf -expected-id $_CPUTAPID
dap create $_CHIPNAME.dap -chain-position $_CHIPNAME.cpu

if {[using_jtag]} {
   jtag newtap $_CHIPNAME bs -irlen 5
}

set _TARGETNAME $_CHIPNAME.cpu
target create $_TARGETNAME cortex_m -endian $_ENDIAN -dap $_CHIPNAME.dap

$_TARGETNAME configure -work-area-phys 0x20000000 -work-area-size $_WORKAREASIZE -work-area-backup 0

set _FLASHNAME $_CHIPNAME.flash
flash bank $_FLASHNAME stm32f1x 0 0 0 0 $_TARGETNAME

reset_config srst_nogate

if {![using_hla]} {
   # if srst is not fitted use SYSRESETREQ to
   # perform a soft reset
   cortex_m reset_config sysresetreq
}

proc stm32f3x_default_reset_start {} {
    # Reset clock is HSI (8 MHz)
    adapter speed 1000
}

proc stm32f3x_default_examine_end {} {
    # Enable debug during low power modes (uses more power)
    mmw 0xe0042004 0x00000007 0 ;# DBGMCU_CR |= DBG_STANDBY | DBG_STOP | DBG_SLEEP

    # Stop watchdog counters during halt
    mmw 0xe0042008 0x00001800 0 ;# DBGMCU_APB1_FZ |= DBG_IWDG_STOP | DBG_WWDG_STOP
}

proc stm32f3x_default_reset_init {} {
    # Configure PLL to boost clock to HSI x 8 (64 MHz)
    mww 0x40021004 0x00380400   ;# RCC_CFGR = PLLMUL[3:1] | PPRE1[2]
    mmw 0x40021000 0x01000000 0 ;# RCC_CR |= PLLON
    mww 0x40022000 0x00000012   ;# FLASH_ACR = PRFTBE | LATENCY[1]
    sleep 10                    ;# Wait for PLL to lock
    mmw 0x40021004 0x00000002 0 ;# RCC_CFGR |= SW[1]

    # Boost JTAG frequency
    adapter speed 8000
}

# Default hooks
$_TARGETNAME configure -event examine-end { stm32f3x_default_examine_end }
$_TARGETNAME configure -event reset-start { stm32f3x_default_reset_start }
$_TARGETNAME configure -event reset-init { stm32f3x_default_reset_init }

$_TARGETNAME configure -event trace-config {
    # Set TRACE_IOEN; TRACE_MODE is set to async; when using sync
    # change this value accordingly to configure trace pins
    # assignment
    mmw 0xe0042004 0x00000020 0
}
board 的配置文件 gd32f3start.cfg
# sudo openocd -f interface/cmsis-dap.cfg -c "transport select swd" -c "set CPUTAPID 0" -f target/gd32f3x.cfg
#
source [find interface/cmsis-dap.cfg]
transport select swd

set CPUTAPID 0
set WORKAREASIZE 0x2000
source [find target/gd32f3x.cfg]

proc gdd { pos } {
    if { $pos == 0 } {
        reset;
        halt;
        flash write_image erase TencentOS_tiny.bin 0x8000000;
        reset;
        echo "stm down firm 2 internal flash success"
    } else {
        echo "invalid gdd down to others"
    }
}
分别将上述配置文件放到 openocd 的安装目录,大概是这样的:
▸ tree -L  1 /usr/share/openocd/scripts/
/usr/share/openocd/scripts/
├── bitsbytes.tcl
├── board  ==> 放 gd32f3start.cfg 配置文件
├── chip
├── cpld
├── cpu
├── fpga
├── interface
├── mem_helper.tcl
├── memory.tcl
├── mmr_helpers.tcl
├── target  ==> 放 gd32f3x.cfg 配置文件
├── test
└── tools

9 directories, 4 files
连接开发板的命令是 openocd -f board/gd32f3start.cfg, 如果一切顺利你会看到这样的信息: 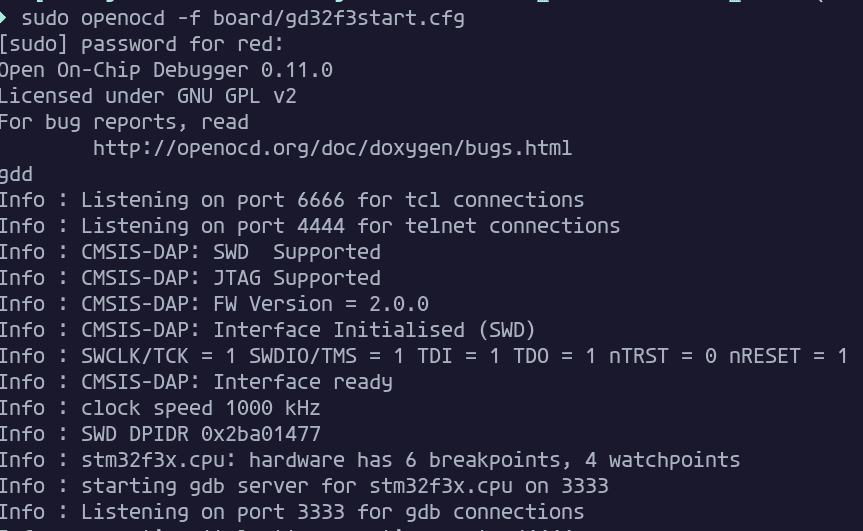
接下去可以:
- 使用 arm-none-eabi-gdb 连接本机的 3333 端口远程调试开发板
- 使用 telnet 链接本机的 4444 端口进行程序下载调试
效果大概是这样的: 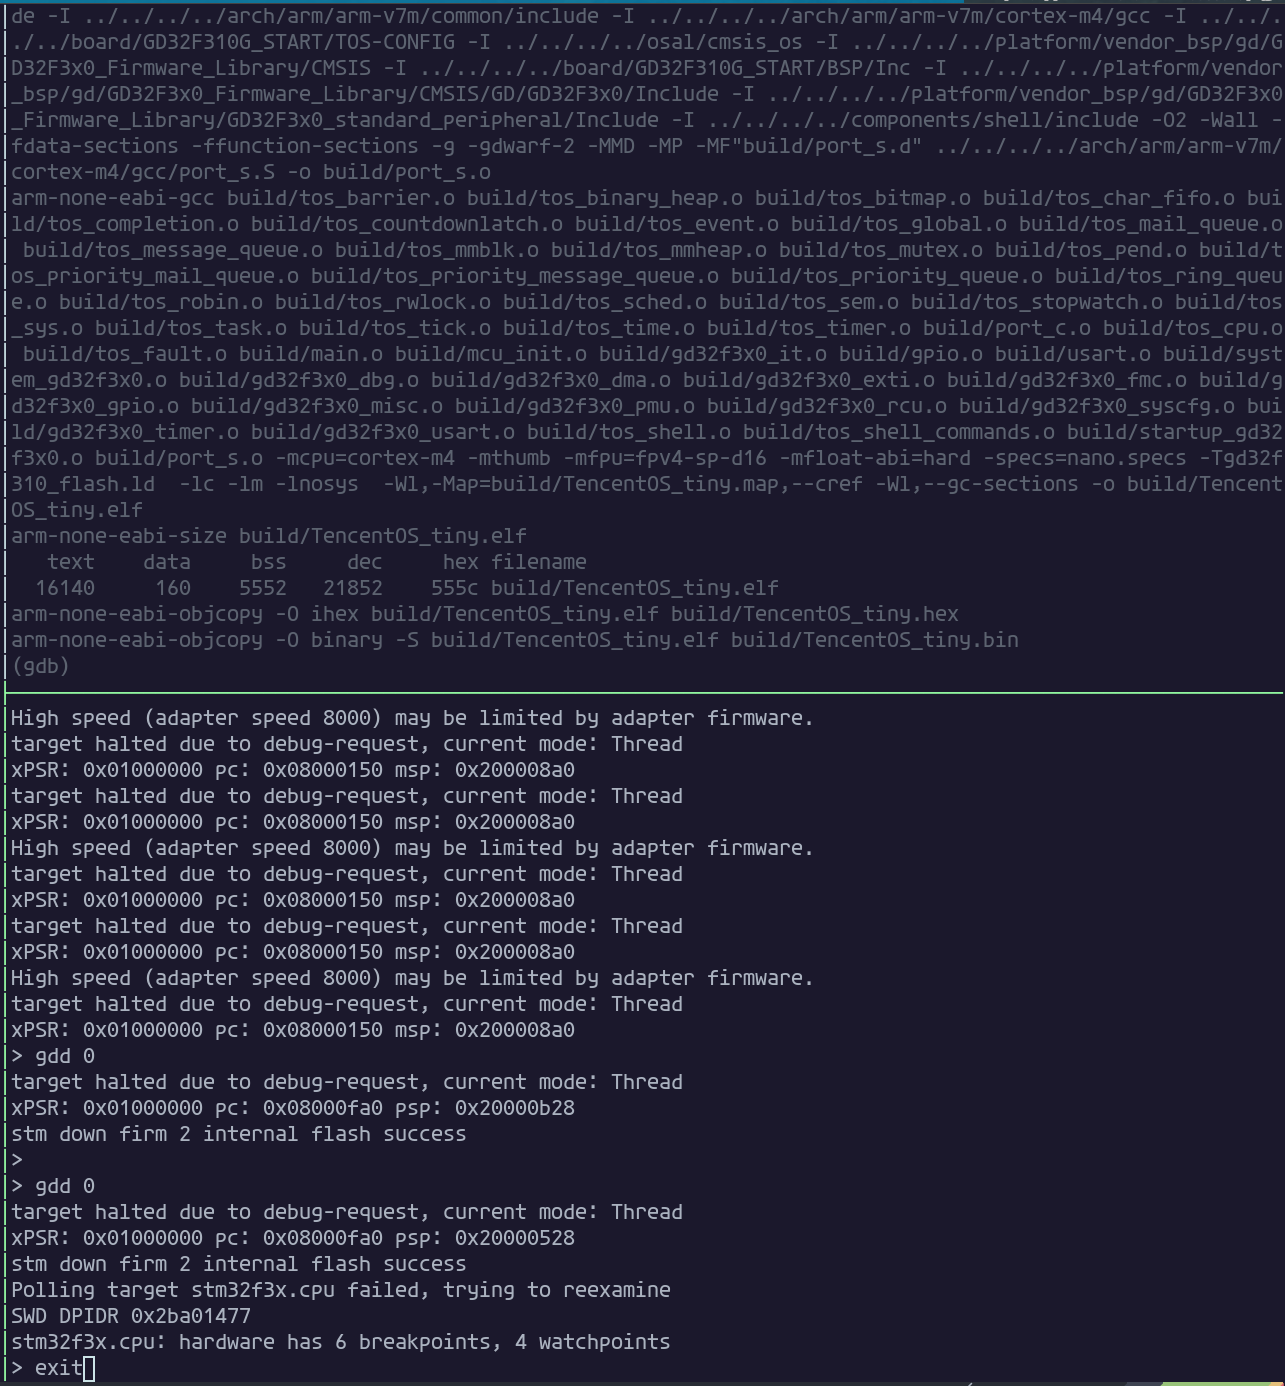
环境搭建好了之后,就可以开发愉快的开发了。
移植 Tencent OS 到 GD32F310G START
移植系统比较快的方法是:
- 参考一个架构类似的处理器的工程,然后复制修改替换,保证编译通过
- 阅读整个系统的代码走向,点灯调试
- 逐步优化代码,最后可以提交 療 到上游
此处具体的移植步骤我就不详细记录了,因为网上有丰富的系统移植的教程,都是大同小异的。我在此仅仅展示下我移植过程中的一些提交记录: 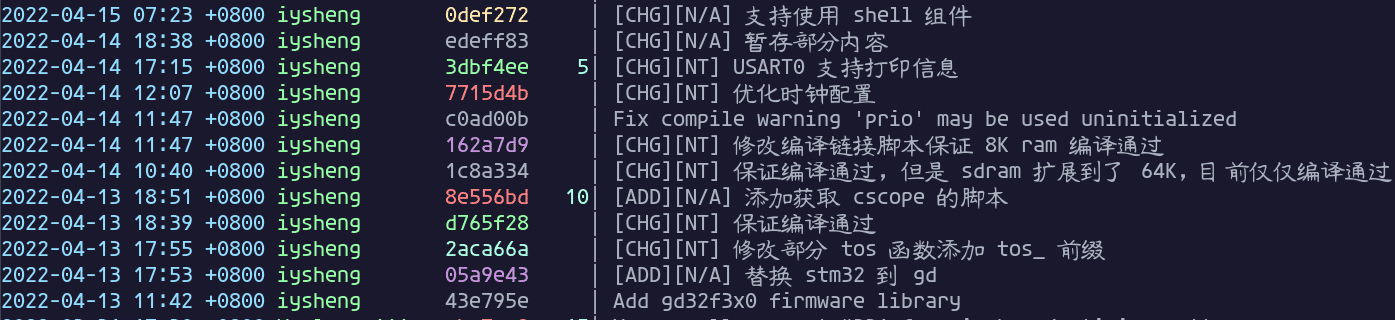
特别地,我将 TencentOS Tiny 的 shell 组件添加进来了,所以效果是这样的: 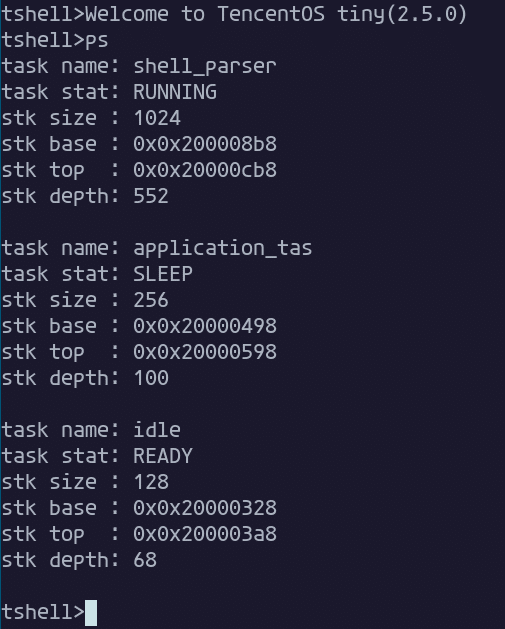
仓库的地址是:
https://github.com/iysheng/TencentOS-tiny
并且我已经提交了一个 療 到上游Gd32f310gstart 已经被 了。☺️

