推荐阅读:
荣耀20青春版多重黑科技:方舟编译器只是之一
华为方舟编译器开源官网正式上线
华为方舟编译器获“东北亚优秀开源项目”奖
大家好,近期,华为开放了方舟编译器的部分源代码,据查应该是MapleIR部分。得到消息后我立刻开始了方舟编译器的配置与试用。由于电脑配置有限,配置过程冗长,所以打算分日记录我的体验过程。今天是第一天:准备llvm和clang。
环境:
我在MacBook Pro 15 inch 2017上安装了Parallels Desktop(购买于春节期间的企业版,699元一年的订阅版,好贵)。配置如下:
- CPU:4 * vCPU (Intel i7-7820HQ@2.9GHz)
- RAM:8GB
- 存储:在外置WD MyPassport 512G移动固态硬盘上创建SATA虚拟机硬盘。
- 系统:Ubuntu Desktop 19.04,linux kernel 5.0
Part I. 准备llvm和clang
方舟编译器的文档(在源码的doc下的Development_Preparation.md)的说明中,要求先准备好llvm+clang。为了尽可能避免问题,选择进行源码编译。
先去llvm官网:https://clang.llvm.org/get_st...:
1.Get the required tools.
- See Getting Started with the LLVM System – Requirements.
- Note also that Python is needed for running the test suite. Get it at: http://www.python.org/download
- Standard build process uses CMake. Get it at: http://www.cmake.org/download
2.Check out the LLVM project:
- Change directory to where you want the llvm directory placed.
- git clone https://github.com/llvm/llvm-...
3.Change directory to where you want the llvm directory placed.
- git clone https://github.com/llvm/llvm-...
- Build LLVM and Clang:
- cd llvm-project
- mkdir build (in-tree build is not supported)
- cd build
- cmake -DLLVM_ENABLE_PROJECTS=clang -G “Unix Makefiles” ../llvm
- make
- This builds both LLVM and Clang for debug mode.
- Note: For subsequent Clang development, you can just run make clang.
Part II 具体步骤
第一步:准备好编译需要的工具,例如cmake,这个很简单
$ sudo apt install cmake
其他的依赖安装都很简单,这里不再赘述
第二步:clone llvm项目
$ git clone https://github.com/llvm/llvm-...
我的项目文件放在~/GitHub/llvm-project下,后面均假设在这个目录下操作
第三步:编译
需要注意的是,LLVM不允许在项目tree下进行编译,需要在项目文件夹下创建一个新的文件夹,然后在其中进行编# 创建一个叫做out的文件夹
$ mkdir out
进入out文件夹
$ cd out
执行CMake
$ cmake -DLLVM_ENABLE_PROJECTS=clang -G "Unix Makefiles" ../llvm
然后稍等CMake进行配置。注意执行CMake的时候指定-DLLVM_ENABLE_PROJECTS=clang来确保LLVM和Clang都进行编译,不然会导致编译后只能找到llvm找不到clang(别问我为什么知道……)
然后,开始编译:
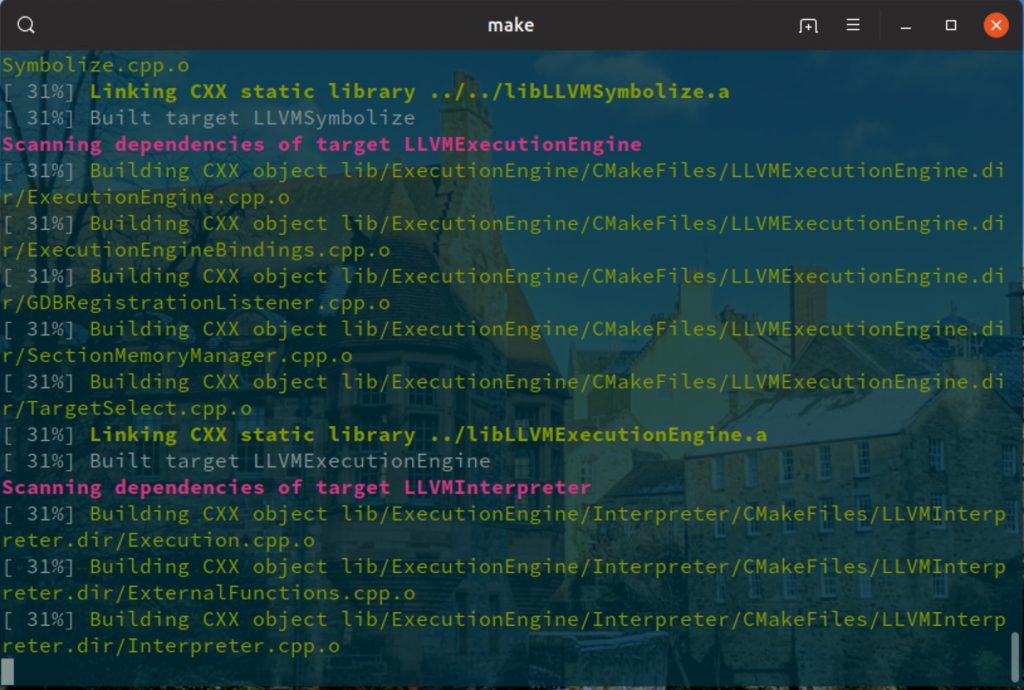
$ make
这一步非常非常非常慢(至少在我的虚拟机上需要大约两个小时以上),如图:
然后llvm和clang就成功编译啦!(截止发文,仍然没有编译完,所以剩下的内容会慢慢向大家展示!)
转载自:同济大学王陆洋个人微博:
https://leonwong.cn/index.php...
版权声明:本文为博主王陆洋原创文章,转载请附上博文链接!


