1、下载docker环境
sudo docker pull zepan/zhouyi
sudo docker run -i -t zepan/zhouyi  /bin/bash
2、部署环境
从docker中借鉴工具版本依赖和demos,在ubuntu下部署好环境,
cd tflite
./run_sim.sh
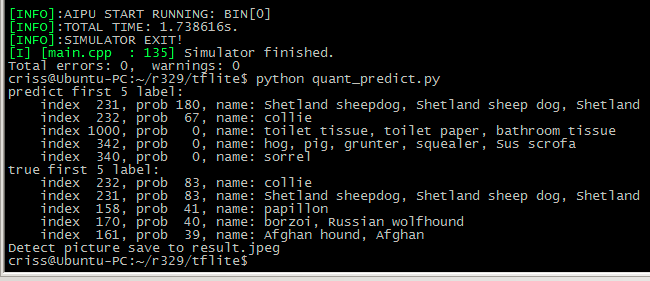
python quant_predict.py
3、下载生成模型的
slim
tensorflow_v1.15.0
resnet_v1_50
4、生成模型
python3 export_inference_graph.py \
    --alsologtostderr \
    --model_name=resnet_v1_50 \
    --image_size=224 \
    --labels_offset=1 \
    --output_file=/tmp/resnet_v1_50_inf.pb
python3 freeze_graph.py \
--input_graph=/tmp/resnet_v1_50_inf.pb \
--input_checkpoint=/tmp/resnet_v1_50.ckpt \
--input_binary=true \
--output_graph=/tmp/resnet_v1_50_frozen.pb \
--output_node_names=resnet_v1_50/predictions/Reshape_15、准备校准数据集
下载1000张图片
放到名为img文件夹,按“图片名称 index”编辑好label.txt
python preprocess_dataset.py
label.npy和dataset.npy等文件上传到网盘
链接:https://pan.baidu.com/s/12SPCe-SymXx_Ctr8xHt7uw
提取码:ixhy
6、编辑build配置文件
[Common]
mode=build

[Parser]
model_name = resnet_50
detection_postprocess =
model_domain = image_classification
output = resnet_v1_50/predictions/Reshape
input_model = /tmp/resnet_v1_50_frozen.pb
input = input
input_shape = [1,224,224,3]

[AutoQuantizationTool]
model_name = resnet_50
quantize_method = SYMMETRIC
ops_per_channel = DepthwiseConv
calibration_data = ./dataset/dataset.npy
calibration_label = ./dataset/label.npy
preprocess_mode = normalize
quant_precision=int8
reverse_rgb = False
label_id_offset = 0

[GBuilder]
outputs=./aipu.bin
profile= True
target=Z1_0701
7、编辑run配置文件
[Common]
mode=run

[Parser]
model_name = resnet_50
detection_postprocess =
model_domain = image_classification
output = resnet_v1_50/predictions/Reshape
input_model = /tmp/resnet_v1_50_frozen.pb
input = input
input_shape = [1,224,224,3]
output_dir = ./

[AutoQuantizationTool]
model_name = resnet_50
quantize_method = SYMMETRIC
ops_per_channel = DepthwiseConv
calibration_data = ./dataset/dataset.npy
calibration_label = ./dataset/label.npy
preprocess_mode = normalize
quant_precision=int8
reverse_rgb = False
label_id_offset = 0

[GBuilder]
inputs=./input/input.bin
simulator=aipu_simulator_z1
outputs=output_resnet_50.bin
profile= True
target=Z1_0701
8、准备input文件
从tflite/dataset/img选取狗的照片
ILSVRC2012_val_00000003.JPEG裁剪成224x224并改名为test.jpeg
python gen_inputbin.py
生成input.bin
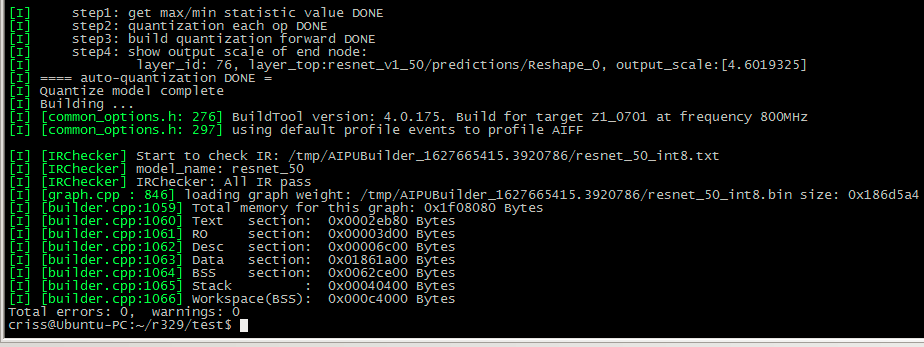
9、生成 aipu.bin
aipubuild config/resnet_50_build.cfg
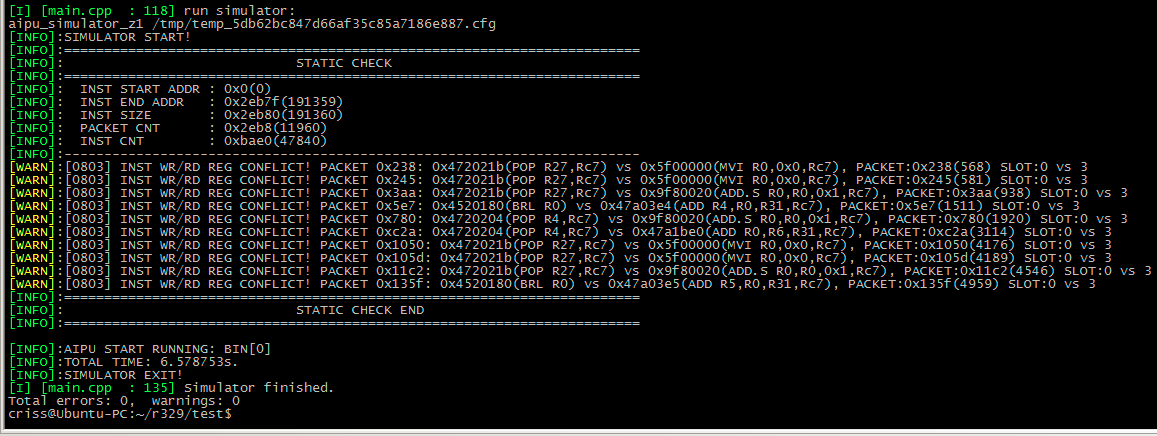
10、运行仿真
aipubuild config/resnet_50_run.cfg
11、验证结果
current_dir = os.getcwd()
label_offset = 1
outputfile = current_dir + '/output_resnet_50.bin'
npyoutput = np.fromfile(outputfile, dtype=np.int8)
outputclass = npyoutput.argmax()
head5p = npyoutput.argsort()[-5:][::-1]

labelfile = current_dir + '/output_ref.bin'
npylabel = np.fromfile(labelfile, dtype=np.int8)
labelclass = npylabel.argmax()
head5t = npylabel.argsort()[-5:][::-1]

print("predict first 5 label:")
for i in head5p:
    print("    index %4d, prob %3d, name: %s"%(i, npyoutput[i], class_name.class_names[i-label_offset]))

print("true first 5 label:")
for i in head5t:
    print("    index %4d, prob %3d, name: %s"%(i, npylabel[i], class_name.class_names[i-label_offset]))


