1.搭建仿真环境
sudo docker pull zepan/zhouyi
sudo docker run -i -t zepan/zhouyi  /bin/bash
进去docker容器之后,安装tf-slim
apt-get install git -y
git clone https://github.com/tensorflow/models.git
cd models/research/slim/
python setup.py install
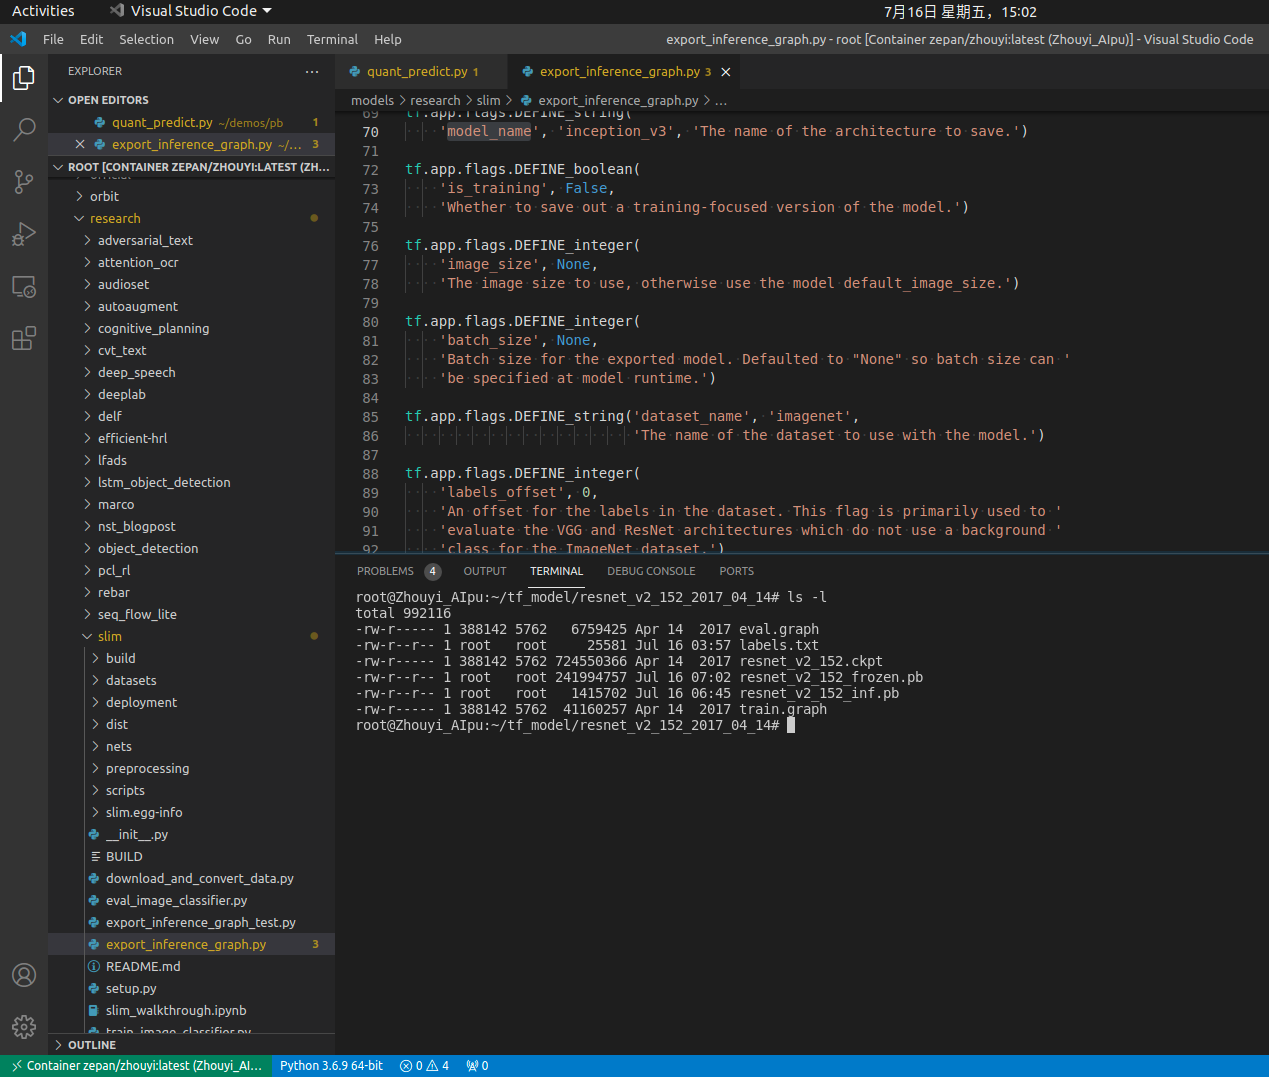
2.导出模型
python3 models/research/slim/export_inference_graph.py --alsologtostderr --model_name=resnet_v1_101 --image_size=224 --labels_offset=1 --output_file=/tmp/resnet_v1_101_inf.pb

python3 freeze_graph.py \
    --input_graph=/tmp/resnet_v1_101_inf.pb \
    --input_checkpoint=/tmp/resnet_v1_101.ckpt \
    --input_binary=true --output_graph=/tmp/resnet_v1_101_frozen.pb \
    --output_node_names= resnet_v1_101/predictions/Reshape_1
3.准备量化矫正数据集
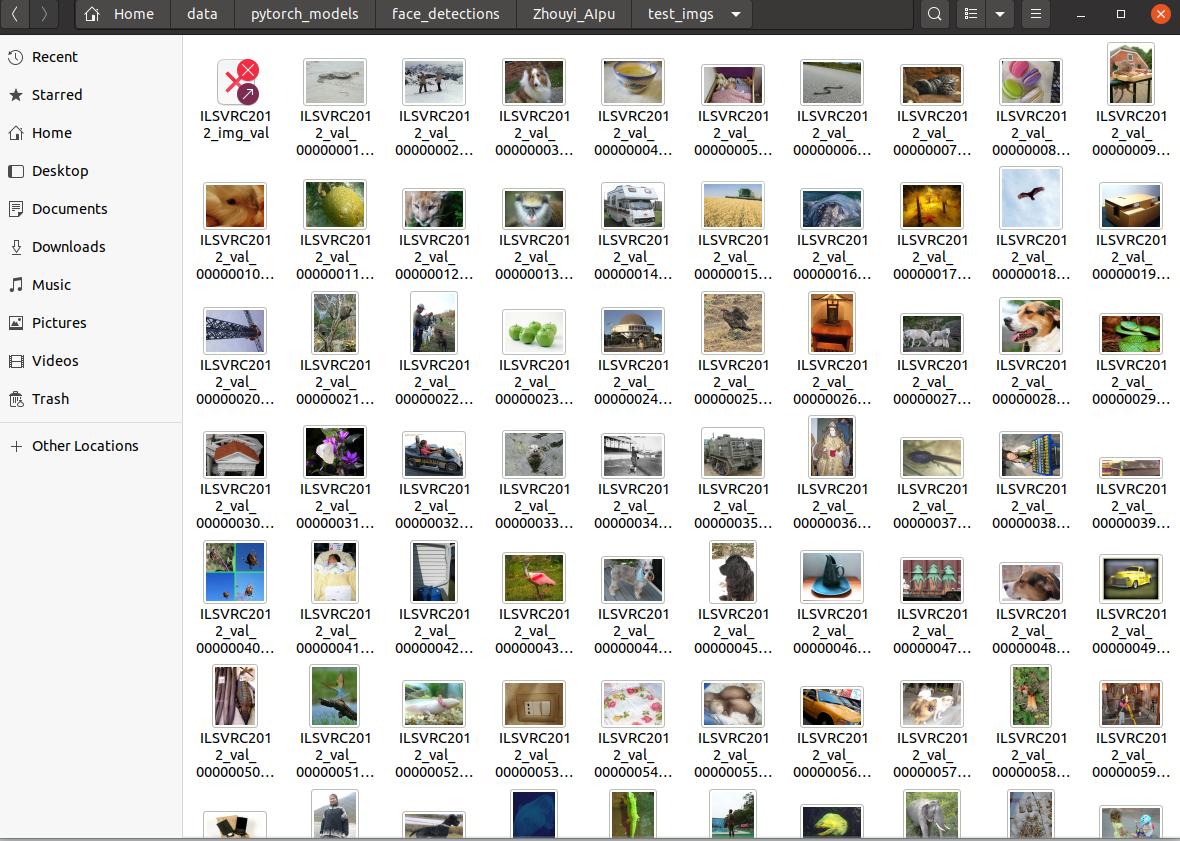
我这里用的是imagenet-val数据集图片,大概选择了1000张左右
4.编辑NN compiler配置文件
[Common]
mode=run

[Parser]
model_name = resnet_101
detection_postprocess =
model_domain = image_classification
output = resnet_v1_101/predictions/Reshape_1
input_model = ./model/resnet_v1_101_frozen.pb
input = input
input_shape = [1,224,224,3]
output_dir = ./

[AutoQuantizationTool]
model_name = resnet_101
quantize_method = SYMMETRIC
ops_per_channel = DepthwiseConv
calibration_data = ./dataset/dataset.npy
calibration_label = ./dataset/label.npy
preprocess_mode = normalize
quant_precision=int8
reverse_rgb = False
label_id_offset = 0

[GBuilder]
inputs=./model/input.bin
simulator=aipu_simulator_z1
outputs=output_resnet_101.bin
profile= True
target=Z1_0701
simulator仿真
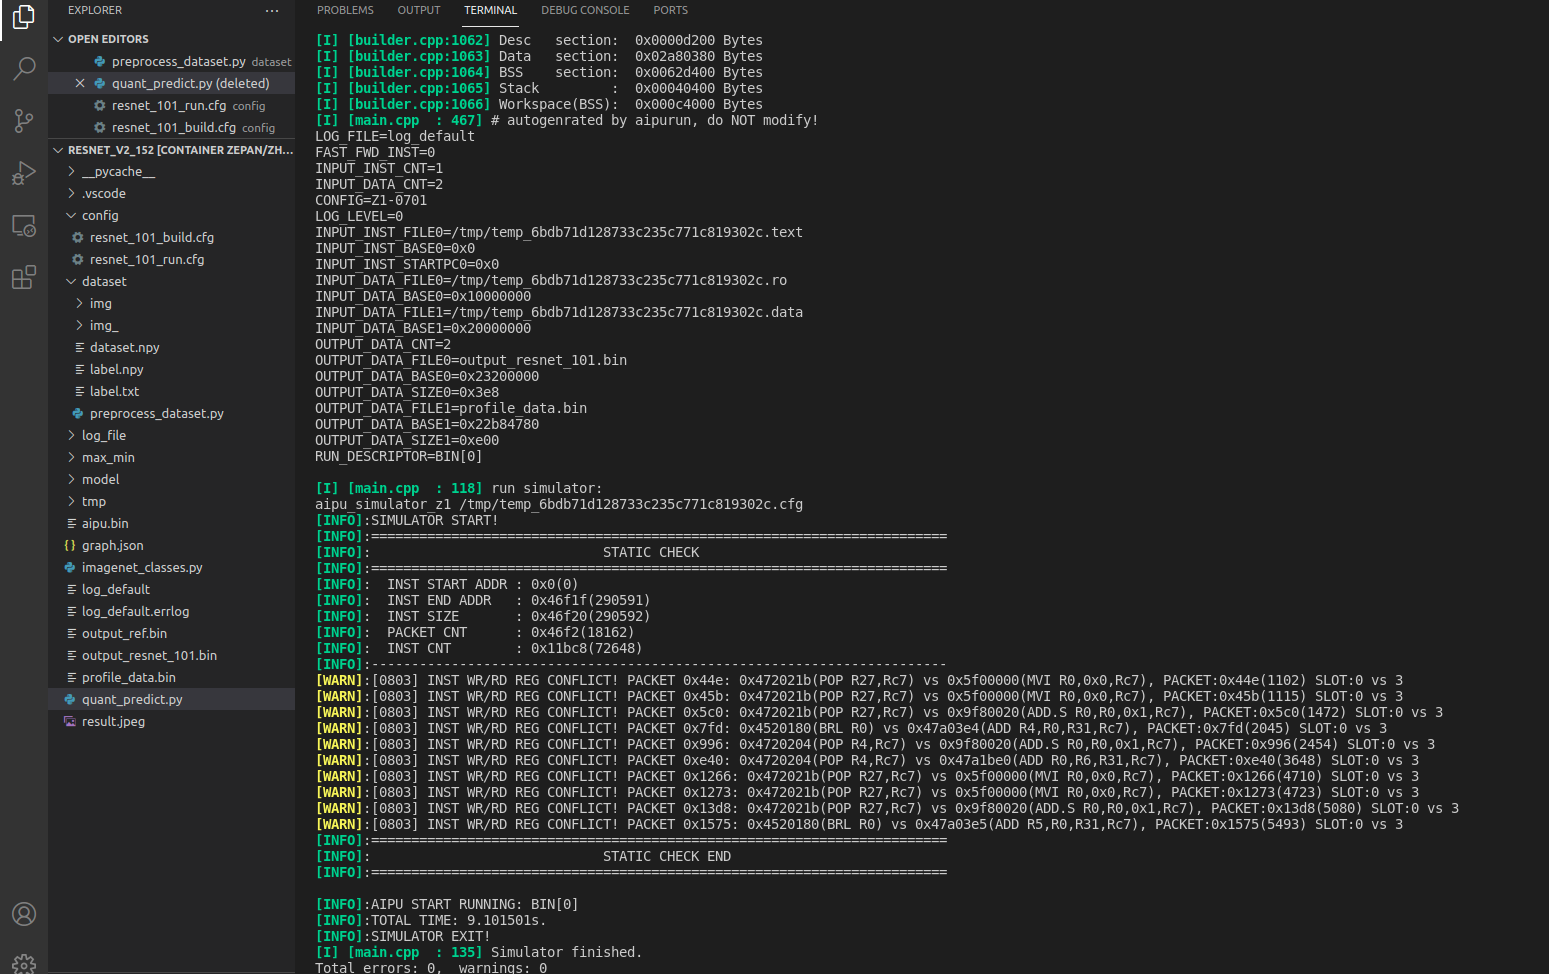
aipubuild config/resnet\_101\_run.cfg
python quant\_predict.py
from PIL import Image
import cv2
from matplotlib import pyplot as plt
import matplotlib.patches as patches
import numpy as np
import os
import imagenet_classes as class_name

current_dir = os.getcwd()
label_offset = 1
outputfile = current_dir + '/output_resnet_101.bin'
npyoutput = np.fromfile(outputfile, dtype=np.uint8)
outputclass = npyoutput.argmax()
head5p = npyoutput.argsort()[-5:][::-1]

labelfile = current_dir + '/output_ref.bin'
npylabel = np.fromfile(labelfile, dtype=np.int8)
labelclass = npylabel.argmax()
head5t = npylabel.argsort()[-5:][::-1]

print("predict first 5 label:")
for i in head5p:
    print("    index %4d, prob %3d, name: %s"%(i, npyoutput[i], class_name.class_names[i-label_offset]))

print("true first 5 label:")
for i in head5t:
    print("    index %4d, prob %3d, name: %s"%(i, npylabel[i], class_name.class_names[i-label_offset]))

# Show input picture
print('Detect picture save to result.jpeg')

input_path = './model/input.bin'
npyinput = np.fromfile(input_path, dtype=np.int8)
image = np.clip(np.round(npyinput)+128, 0, 255).astype(np.uint8)
image = np.reshape(image, (224, 224, 3))
im = Image.fromarray(image)
im.save('result.jpeg')
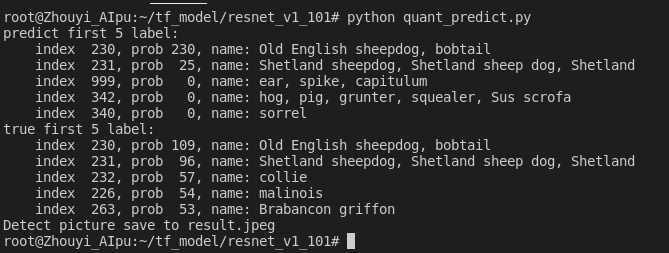
执行结果


